Google Analytics is one of the most useful tools currently available to website owners and business owners especially. They can use Analytics to keep tabs on web traffic, customer engagement and ROI for online marketing campaigns. That's not even all. You can find many other bits of useful information all on one free platform.
This is the first half of a two-part article. We’ll briefly go over the basics of Analytics, what it has to offer and the kind of information it provides. There’s also a tutorial of how to install it on your website. It’s designed so that even the most tech illiterate can keep up.
Are you ready?
Let's get started.
Why Use Google Analytics?
Google Analytics gathers information about how visitors use and engage with a website and provides the data in a format that is easy to understand. Some of this information includes but is not limited to:
- Visitor Demographics. Analytics can track a range of useful information about the demographics of a website’s visitors. You can see anything from their locations and the languages they speak. Even the time of day users visit the site most often and which devices they use is there.
- Website Engagement. Some of the most important information recorded by Analytics is how visitors engage with your website. It records the bounce rate (or how many visitors left the site without clicking through to a second page). You'll see how long visitors spend on each web page and the pages they visit the most. You can even find out how users get from page to page.
- Tracking Web Traffic. Analytics also tracks how visitors arrive at your site. Did they discover it on Google, Yahoo or Bing? Or maybe they came across your Facebook page and followed a link posted there? Knowing how your audience found you is a good way to know where to focus your efforts.
All of this information is especially useful to businesses that run online marketing campaigns or use social media. It gives you a complete breakdown of exactly the type of web traffic you’re getting. With that in mind, marketing teams can focus their energy in places with the highest ROI. Knowing your audience and how they interact with your site is half of a good marketing campaign.
How to Install Google Analytics
Getting started:
The first step in installing Analytics is to go to www.google.com/analytics. In the top right corner of the page, you’ll see the words “Sign In” next to a dropdown symbol.

When clicked, the “Sign In” button opens a dropdown menu with 5 different options. “Google Analytics” is the 4th option from the top and 2nd from the bottom.
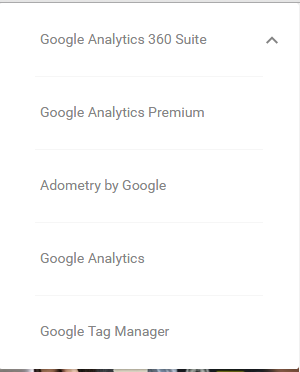
Click “Google Analytics,” and you’ll be taken to a sign-in screen. NOTE: you don’t have to use a Google/Gmail login to create an Analytics account.
If you are using an existing Google account, sign in and you’ll be taken to the Analytics page.
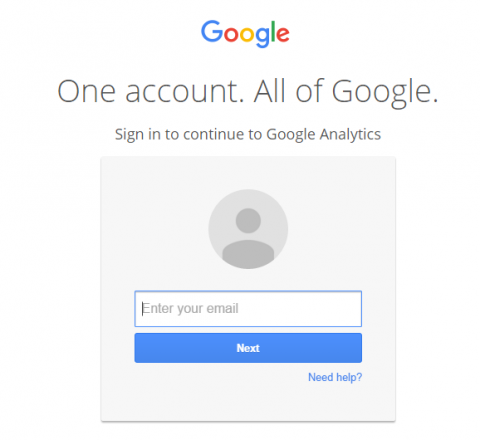
No worries if you're not using a Google account for your Analytics or if you need to create a Google account. Click the “Create an Account” button. You’ll be taken to the “Create a Google Account” page.
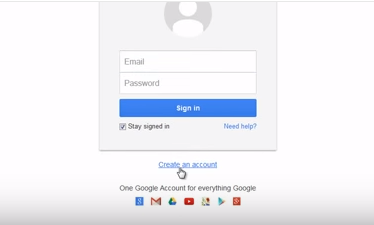
Creating a Google Account:
On the right-hand side of the “Create a Google Account” page, there will be a few fields that you need to fill out.
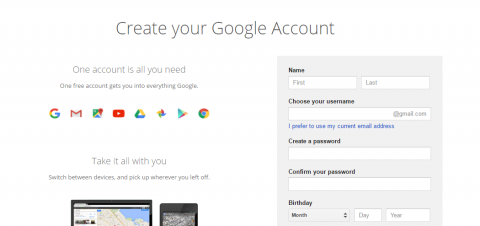
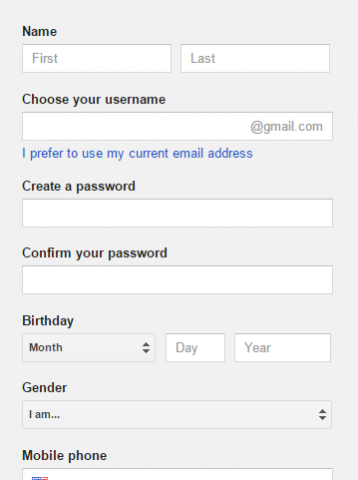
Enter your name, email address and the password for your new account. If you're not going to be using a Gmail account, click “I prefer to use my current email address." You’ll be able to enter any valid email address you like.
Enter your birthday, gender, mobile phone number and a backup email address. A mobile phone number is optional. However, it can be helpful if you ever forget your password or find yourself locked out of your Analytics account.
Verify your account either by entering the captcha text sent to your email or clicking the “skip this verification” box and using phone verification. Set your location and agree to the Google Terms of Service and Privacy Policy.
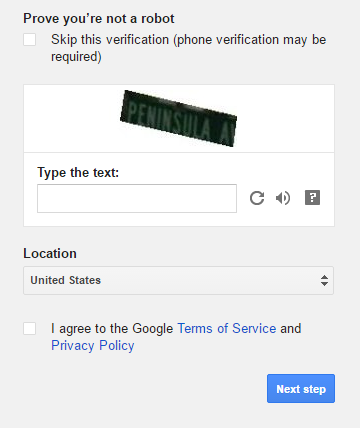
Once you’ve completed all the registration fields, click “Next Step” to continue. You’ll be asked to verify your email address.
Log in to the email you just used to register for Analytics. You should see an email from Google asking you to verify your new Analytics account. Open the email and click on the link to verify the account.
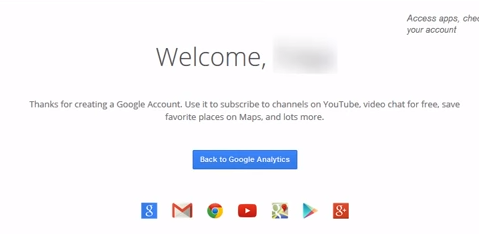
This will open a new window and take you to a “Welcome” page. Click on the blue “Back to Google Analytics” button.
Setting Up an Analytics Account:
Click the “Sign Up” button under the header “Start using Google Analytics” on the right side of the screen.

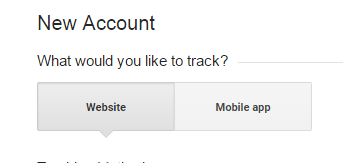
This will take you to a new page. At the top, you’ll be asked if you want to track a website or a mobile app. For this tutorial, we are assuming that you are setting up Analytics for a website.
Next, scroll down to the “Setting up your account” section. Under “Account Name,” enter the name you want to use for your account.

Now scroll down to the “Setting up your property" section. Enter the name of your website, your website’s URL, the Industry Category your business falls under and the time zone.
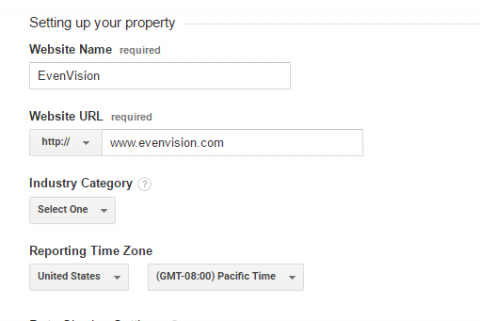
Below this, you’ll find a section labeled "Data Sharing Settings." This section allows you to choose how much info from your analytics account you share with Google. Choose whichever settings you feel most comfortable with. Then scroll down to the bottom of the page and click “Get Tracking ID.”
![]()
Agree to the Terms and Services page that appears to continue.
Installing Your Tracking Code:
On the next page, you’ll be given your Google Analytics tracking code.
![]()
This code snippet is what allows Analytics to record information on your website.
Your new tracking code will need to be added to every page that you want to collect tracking information from. For most people, that means every page of your site. If you’re not sure how to do that, provide your webmaster or web developer with the tracking code. They’ll easily be able to add it to your website.
Once the tracking code has been added to your website, Google will start recording everything mentioned in this article. You’ll be able to look up anything. If you’re not sure where to start looking, don’t worry. Next time we’ll go over where you can locate the information Analytics has from your site and what it means.

